How to File a Roof Insurance Claim After a Storm in Oklahoma: Step-by-Step Guide
Oklahoma’s frequent severe storms—wind, hail, and sometimes tornadoes—make roof insurance claims among the most common homeowner claims in the state. The process has distinct steps and potential pitfalls that can significantly influence the outcome if skipped or executed out of order. This guide explains, in plain terms, what readers should expect, what to gather, and how to navigate common challenges without engineering a dispute with the insurer.
- Step 1: Document the Storm and the Damage
- Step 2: Get a Professional Roof Inspection Before Calling Your Insurer
- Step 3: Review Your Policy Before Filing
- Step 4: Contact Your Insurance Company
- Step 5: The Adjuster Inspection
- Step 6: Understanding Your Claim Payment (The Two-Check Process)
- Step 7: Choosing a Contractor and Completing the Work
- Timelines and Deadlines
- FAQ

Step 1: Document the Storm and the Damage
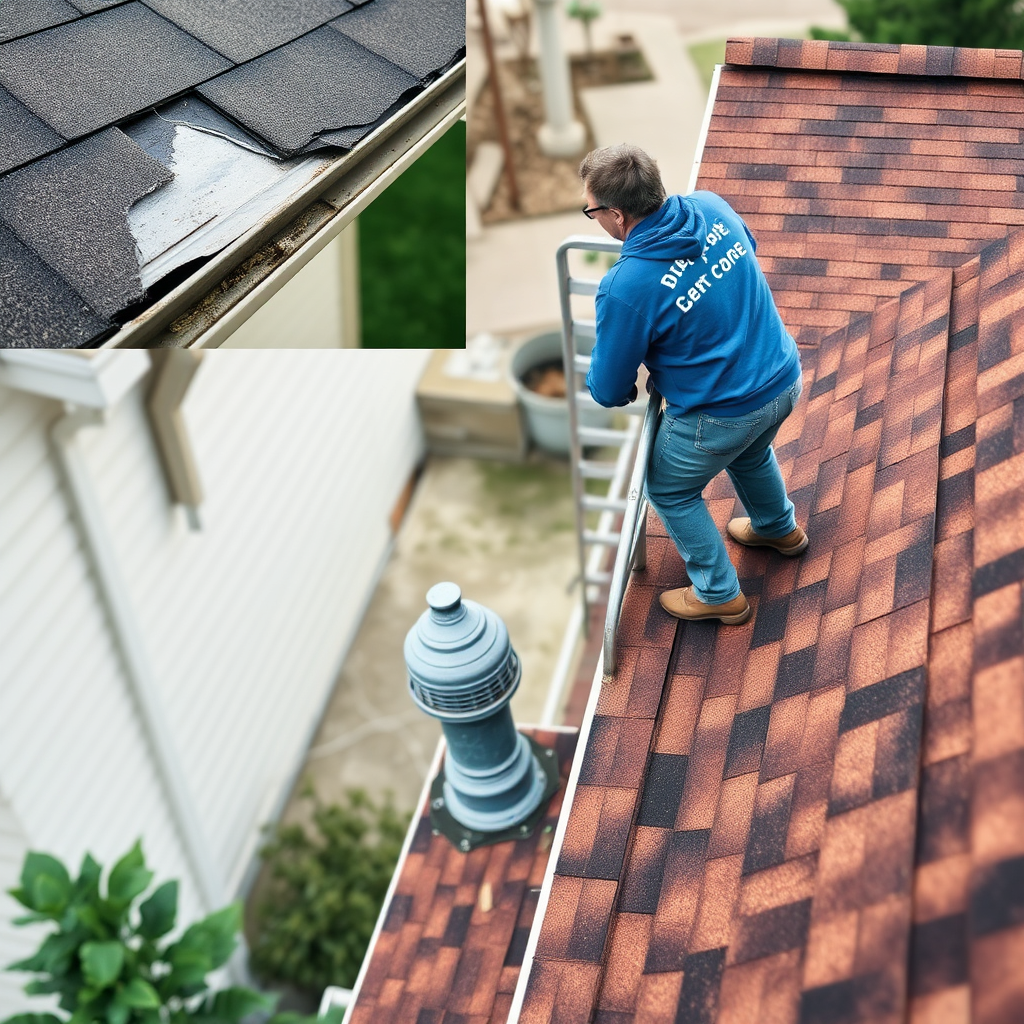
The step that often determines the clarity of your claim is simply documenting what happened and what you observe now. Start by recording the storm event itself—note the date, time, and type (hail, wind, tornado). In many cases, National Weather Service records can corroborate your timeline, which helps insurers verify the event. Alongside this, capture clear photos or videos of visible roof damage from the ground. If it’s safe, you can use a ladder to document without stepping onto wet or suspect roof surfaces.
Also photograph secondary damage indicators that frequently accompany roof issues: dented gutters, bent vents, damaged exterior AC units, and fencing or deck damage. These observations can support a claim by illustrating the broader impact of the storm. A well-rounded set of images reduces back-and-forth with the insurer and helps establish the scope of work your repair may require.
Step 2: Get a Professional Roof Inspection Before Calling Your Insurer
Many roofing professionals advise securing an independent, professional inspection prior to communicating with the insurer. An objective assessment helps homeowners understand true damage and scope, so you can describe the situation accurately when you file. It also gives you a baseline to compare against the adjuster’s findings, reducing the likelihood of surprises later in the process.
A reputable inspector can document condition, identify potential concealed issues, and provide a written report outlining observed damage, recommended repairs, and expected costs. While you’ll still file a claim with the insurer, having this independent perspective empowers you to convey a precise picture, which can improve the integrity of the overall claim and help avoid unnecessary supplements.

Step 3: Review Your Policy Before Filing
Before you reach out to your insurer, take time to review your declarations page and understand how your policy handles roof damage. In most standard Oklahoma homeowner policies, two key factors influence your claim: Replacement Cost Value (RCV) versus Actual Cash Value (ACV), and the deductible structure.
RCV typically pays full replacement cost but may be issued in two payments, with depreciation recovered after completing repairs. ACV, by contrast, provides depreciation-adjusted payment upfront and does not generally reimburse you for the depreciation amount later. You’ll also want to identify whether your policy uses a separate wind/hail deductible (often a percentage of dwelling coverage, such as 1%–5%), in addition to or instead of a flat all-perils deductible. Finally, check the filing deadline stated in your policy; in Oklahoma, insurers commonly require filing within six months to a year from the storm event, though sooner filing is generally advisable to avoid disputes.
Policy basics to confirm
- RCV vs ACV: determine if your roof replacement is paid at full cost or depreciated value.
- Deductible: identify per-occurrence deductible and whether a separate wind/hail deductible applies.
- Filing deadline: note the timeframe to initiate a claim after the storm event.
- Mortgagee rights: if applicable, confirm who must be notified by your lender.
- Documentation requirements: understand what your insurer may request during the claim.
Step 4: Contact Your Insurance Company
When you’re ready to file, have your policy number, the storm date, and a concise description of visible damage at hand. Contact your insurer via the method they prefer—phone or online claim submission—and provide the essential details: date of loss, type of storm, and a summary of observed damage. After you report, expect them to issue a claim number and schedule an adjuster inspection. It’s wise to write down and securely store the claim number as soon as you receive it, because that reference will be used throughout the process.
If you already had an independent inspection, share those findings with the insurer as part of your initial claim information. Keep a record of all communications, including dates, times, and the names of representatives you spoke with. Clear, organized records help both sides stay aligned on scope and next steps.

Step 5: The Adjuster Inspection
On the scheduled inspection day, homeowners should be present if possible. Walk the adjuster through each documented damage area, pointing out issues that may not be visible from the ground. If the inspector misses something, you can explain and demonstrate its impact on repairs. Request a copy of the adjuster’s written inspection report and the scope of work once the inspection is complete.
If your own contractor’s assessment identifies additional or different damage, this is the appropriate time to raise concerns. You can request a supplement if appropriate documentation supports a broader scope or higher cost. Having both perspectives in writing helps ensure the claim accurately reflects the full repair needs.

Step 6: Understanding Your Claim Payment (The Two-Check Process)
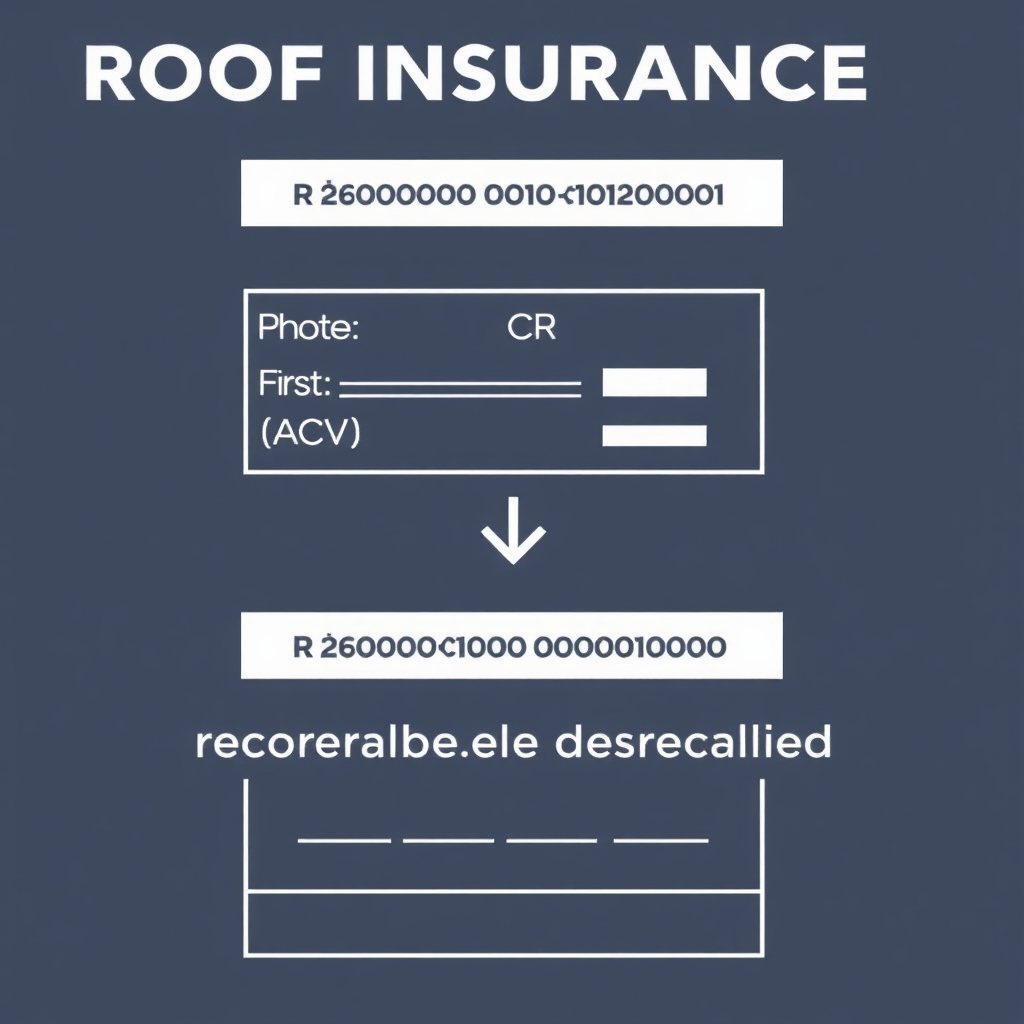
In many policies, Replacement Cost Value (RCV) claims are paid in two checks. The first check typically represents Actual Cash Value (ACV)—the total replacement cost minus depreciation and the deductible. A second “recoverable depreciation” check follows after you complete repairs and provide proof of work. When both steps occur, total payments come close to the full replacement cost minus the deductible.
For policies that are ACV-only, the first check is the only payment. Depreciation is not recoverable via a subsequent payment. In either case, ensure you understand how your deductible is applied to the initial payment and whether a separate wind/hail deductible exists in your policy.
Simple example (RCV policy): Suppose a roof replacement costs $15,000. Depreciation is $6,000 and the deductible is $3,000. The first check might be $6,000 (15,000 minus 6,000 minus 3,000). After repairs are completed and you provide documentation of completion, a second check for the recoverable depreciation of $6,000 is issued, bringing total receipts near the full replacement cost minus the deductible. By contrast, an ACV-only policy would typically pay only the $9,000 upfront (before any depreciation recovery), with depreciation permanently retained by the homeowner.
Step 7: Choosing a Contractor and Completing the Work
It’s tempting to rely on an insurer’s “preferred vendor,” but homeowners typically benefit from getting quotes from multiple licensed, insured local contractors. Independent estimates help ensure you’re not overpaying and that the chosen scope aligns with the actual damage documented. Be wary of aggressive pressure to sign immediately; take time to compare options.
Before signing any contract, verify licensing and insurance, and keep all invoices, contracts, and proof of work completion. These documents are often required to trigger the second depreciation payment and to demonstrate that the repairs were completed properly. Maintain organized records of all communication and work milestones for easy reference.

Timelines and Deadlines to Know
Oklahoma doesn’t publish a single universal deadline for all storm-related roof claims. In practice, most insurers expect notification within six months to a year from the storm event, though sooner filing is generally advisable to preserve leverage and avoid disputes. For straightforward hail claims with complete documentation, many homeowners see a relatively quick resolution. More complex claims—such as those involving interior damage, multiple structures, or contested scope—can extend to several months.
Keep in mind that timelines are influenced by the complexity of the damage, the accuracy and completeness of documentation, and how smoothly both sides align on scope and repairs. Regular follow-ups and timely submissions of additional documents can help avoid delays.
FAQ
Do I need a professional inspection before filing a claim, or can I just call my insurer first?
It’s generally prudent to have an independent roof assessment before filing, as it provides an objective baseline of damage and scope. This helps you describe findings accurately to the insurer and can support a clearer claim narrative. However, if you can’t obtain an inspection promptly, you can still file and then attach independent findings later.
What’s the difference between RCV and ACV, and how do I find out which one I have?
RCV (Replacement Cost Value) pays the full replacement cost minus deductible, typically in two payments with depreciation recovered after repairs. ACV (Actual Cash Value) pays the depreciated value upfront, with depreciation not recoverable. Check your policy declarations page or speak with your insurer to confirm which applies to your roof; you can also review your policy wording for the exact definitions.
Can I choose my own roofing contractor instead of my insurer’s recommended vendor?
Generally yes. Homeowners typically have the right to obtain quotes from multiple licensed contractors. Ensure each contractor is properly licensed and insured, and that the scope of work aligns with your documented damage. Keep all invoices and signatures to support any depreciation-related payments.
What if I disagree with the adjuster’s damage assessment?
If you disagree, you can request a copy of the adjuster’s report and seek a second opinion from your own contractor or a third-party inspector. You can also ask for a supplemental claim or a mitigation plan that outlines the disputed items with supporting evidence. Clear documentation is key in resolving disagreements.
How long does a typical roof insurance claim take from filing to final payment?
For straightforward cases with complete documentation, the process can resolve in roughly 30–45 days after filing. More complex claims—especially those requiring supplements, interior inspections, or contractor coordination—often extend to 90–120 days or longer. Timelines vary by insurer, policy details, and the responsiveness of all parties involved.
This article is general educational information only and is not legal advice, insurance advice, or a substitute for professional guidance. Coverage, deadlines, and claim mechanics depend on the homeowner’s specific policy and insurer. Readers should review their policy declarations and consult their insurance agent, or contact the Oklahoma Insurance Department at oid.ok.gov, for questions about coverage or claims-handling specifics.